What Should I Expect During My Residential HVAC Maintenance? Yes, It’s Different From HVAC Service!
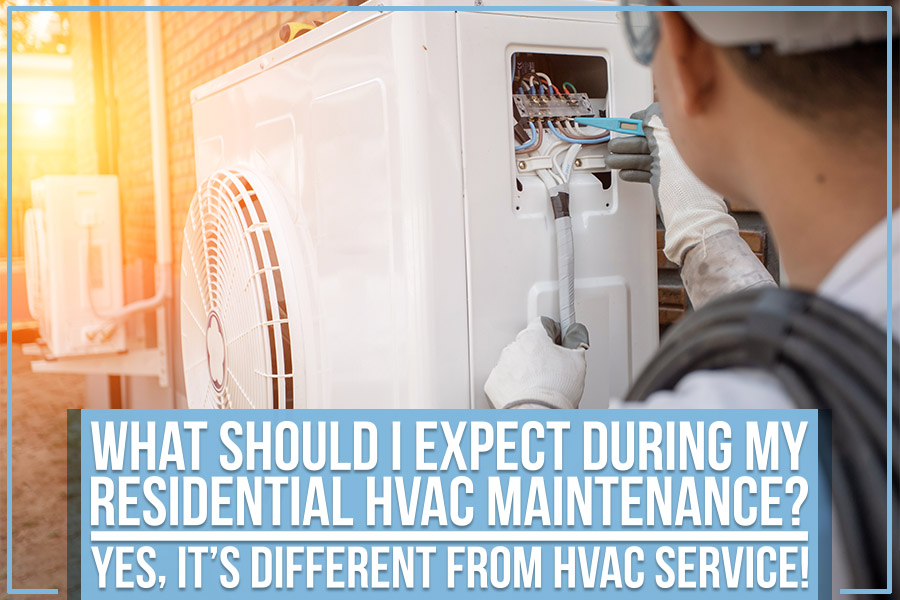
HVAC – Heating, Ventilation, and Air Conditioning – is a vital part of any building. It is essential to ensure your residential HVAC system is properly maintained. HVAC maintenance can help prolong your HVAC system’s life and prevent expensive repairs.
During HVAC repair and maintenance, you can expect the technician to clean your system, replace worn parts, and ensure everything is working correctly. They may also check the ductwork for leaks and insulation for holes. This can help prevent breakdowns, improve indoor air quality, and reduce energy bills.
Bill’s Plumbing & Sewer will talk about what you can expect during HVAC maintenance and repair in detail, so you may not have any surprises down the line!
1. A Thorough Inspection
It starts with thoroughly inspecting your entire HVAC system, including the furnace, air conditioner, ductwork, and thermostat. Checking your ductwork is vital to ensure that it is free of any debris or obstructions that could impede airflow. Furnace inspection identifies problems, such as a cracked heat exchanger, that could lead to a future breakdown.
2. A Test of Your HVAC System’s Performance
A test of the system’s performance is essential to ensure that your HVAC system is operating at peak efficiency. This will include a check of the airflow, temperature, and humidity levels in your home.
By testing the performance of your system, any potential problems can be quickly identified and corrected.
3. A Review of Your Energy Usage
The technician will review your energy usage to determine if there are any areas where you could be saving money. This review will help identify potential issues, such as an incorrectly sized HVAC system that could cost you more money than necessary.
4. Cleaning of The Furnace, Air Conditioner & Ductwork
Cleaning may involve removing dirt and debris from the interior of the units and vacuuming the ductwork. Keeping the furnace and air conditioner clean is important to prevent potential problems, such as reduced efficiency or even fires.
5. Inspection Of Electrical Components
You can also expect the technicians to inspect your HVAC system’s electrical components for any potential issues. This includes testing the voltage and amperage of various components and testing for any loose or damaged wires.
6. Lubrication Of Moving Parts
All the moving parts within your HVAC system, like the blower motor, fan belts, and other moving parts, will be lubricated to keep them running smoothly.
7. Adjustment of Controls
The thermostat, humidistat, and other controls of your HVAC system will be adjusted to ensure they are working correctly.
8. Testing of Safety Devices
The technician will test the pressure switch, limit switch, and other safety devices within your HVAC system to ensure they are working correctly.
By having regular HVAC maintenance, you can rest assured that your HVAC system will be able to provide optimal performance for years to come.
It’s highly recommended to schedule an HVAC maintenance check once a year, preferably in the spring season – it’s an excellent time to have HVAC maintenance because it’s not too hot or cold outside.
Bill’s Plumbing & Sewer provides HVAC repair and maintenance services in Skokie, IL, 24/7. We also offer emergency repairs on weekends and holidays. So give us a call to ensure that your HVAC system continues to operate smoothly.
5 HVAC Maintenance Mistakes To Avoid This Summer
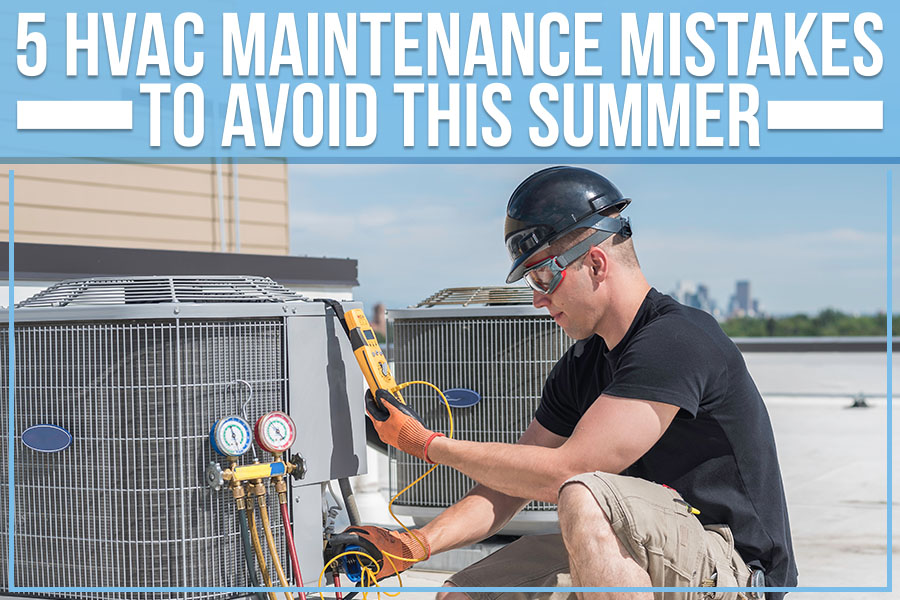
Summer is when people like to take it easy, enjoy the sun and relax. Unfortunately, if you’re someone who has an HVAC system in your home, relaxation can come at a cost.
In this blog post, Bill’s Plumbing & Sewer will explore some of the most common HVAC maintenance mistakes people make in the summer, and we’ll offer tips on how to avoid them. Stay cool – and save money – this summer by reading on!
Neglecting to Change the Air Filter:
One of the most common HVAC maintenance mistakes is neglecting to change the air filter. Your air filter helps keep your system clean and running smoothly, but it can only do its job if it’s changed regularly.
How to Avoid it?
Inspect your air filter monthly and change it when it’s muddy. Depending on your filter type, you should change it every one to three months.
Not Scheduling an Annual Maintenance:
Another mistake people make is not scheduling an annual maintenance for their HVAC system. A qualified technician will clean your system and perform any necessary plumbing repairs during the maintenance. It can help improve your system’s efficiency and prevent small problems from turning into big – and expensive – ones.
How to Avoid it?
Schedule an annual maintenance for your HVAC system in the spring or fall. It will help ensure that your system is ready to go when needed.
Ignoring Strange Noises:
If your HVAC system starts making weird noises, it’s important to take notice and address the problem as soon as possible. Strange noises can indicate potentially serious issues, including loose parts, worn bearings, or even something as serious as a refrigerant leak.
How to Avoid it?
If you hear any strange noises from your HVAC system, shut it off and call a qualified technician immediately. Diagnosing and repairing the problem yourself could do more harm than good.
Forgetting About the Outdoor Unit:
Your HVAC system has two main components: the outdoor and indoor units. The outdoor unit is often forgotten because it’s not located inside the home. But neglecting this part of your system can lead to big problems.
How to Avoid it?
Check the outdoor unit regularly and clean any debris that may have accumulated. It would be best if you also trim back any trees or bushes that are growing too close to the unit, as this could impede airflow.
Not Checking the Refrigerant Levels:
Another mistake people make is not checking the refrigerant levels in their system. If your system is low on refrigerant, it won’t be able to cool your home effectively, leading to further damage.
How to Avoid It?
Check the refrigerant levels in your system regularly and have them topped off as needed. You should also have a professional check the levels at least once a year to ensure they’re where they should be.
Summer is an excellent time to do your HVAC maintenance, as it will save you money on future residential repairs. Of course, if you need HVAC repair or maintenance in Deerfield, IL, this summer, our team at Bill’s Plumbing & Sewer is here for you. We offer comprehensive service plans and free estimates, so don’t hesitate to reach out if something goes wrong.
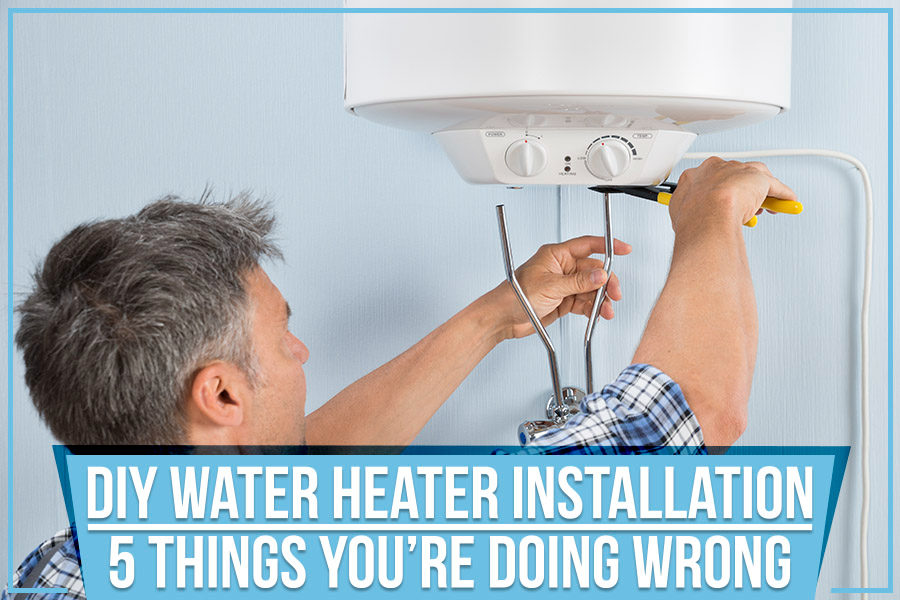
DIY water heater installation may seem challenging, but it can be done with a little bit of know-how. However, there are some things you need to watch out for if you want to do the job right.
In this blog post, Bill’s Plumbing & Sewer will discuss some of the most common mistakes people make when installing water heaters. We’ll also provide tips on avoiding these mistakes and getting the job done quickly and efficiently!
Mistake 01: Selecting the inappropriate size
Your new water heater might be doomed to fail even before it heats its first gallon of water. Tank water heaters may hold 30 to 80 gallons of water. Factors such as the number of people in your home and how much hot water you use will determine the perfect size for your home.
You will frequently run out of hot water if you get a water heater that is too small. If the tank is too large, you’ll be squandering money on your monthly energy bills by constantly boiling water you don’t need.
Mistake 02: Not having the proper tools and carrying out tasks incorrectly
If you’re mechanically inclined, you could be tempted to work things out as you get further in the installation project.
However, don’t be a hero; follow the directions. At the very least, you’ll know what equipment you’ll need before you begin, you’ll have a better sense of how long it’ll take, and you’ll be less likely to flood your basement.
Mistake 03: Installing it in a potentially dangerous area
For safety, convenience, and efficiency, the location of your water heater is essential. Depending on your local rules, places like a storage room, closets, and attics are restricted to installing a tank water heater. Since newer versions are more insulated and broader than previous ones, you can’t assume the same position would work if you’re replacing an old water heater.
An expert plumber, such as at Bill’s plumbing & Sewer Inc., will ensure that your water heater has appropriate access and airflow.
Mistake 04: Confusion on how to set up the TPR valve and drainpipe
The TRP value is known as “temperature and pressure release.”. One of the things that stop your water heater from bursting is the TPR valve. In simple terms, if your water heater builds up too much pressure, the TPR valve opens, allowing some water to escape. Of course, the water is hot—between 120 and 140 degrees Fahrenheit—so the drainpipe must be installed appropriately. Someone who happens to be close when the valve opens might suffer severe burns.
Mistake 05: Not obtaining permission or abiding by the rules
When homeowners do their water heater installation, they sometimes believe they are free from permits and building rules, which is not the case. These guidelines are in place for a purpose, and ignoring them may be dangerous and costly.
At Bill’s Plumbing & Sewer Inc., we specialize in water heater replacement and serve all of Illinois.

Lead service lines are a potential source of drinking water contamination. With lead being a severe problem in many homes, homeowners need to know their risks and how they can protect themselves.
This blog post by Bill’s Plumbing & Sewer provides an overview of lead service line replacement and what homeowners in Wilmette need to know before they undergo this process. Stay safe and informed with this essential information!
What is Lead Service Line Replacement?
The lead service line replacement process removes and replaces the portion of a water main that delivers water to a home or business. That is usually done when the lead pipes that make up the service line are old and deteriorating. Lead pipes can leach lead into drinking water, harming human health.
Lead Service Line Replacement Process:
Lead pipe replacement is a significant undertaking, and homeowners need to understand the process before undergoing it. Here’s a step-by-step guide:
Step # 1: Identify the type of pipe you have:
Your home may have lead pipes, so if you’re unsure whether yours are still safe or need replacing before they cause problems for your plumbing system, it’s best to get them looked at.
Step # 2: Locate the Main Water Shut-off Valve:
The next step in replacing a lead service line is to locate the main water shut-off valve. This valve is located in the basement, near your water meter, or where you enter with the mainline. Once the main water shut-off valve has been located, you must turn it off.
Step # 3: Call a Licensed Plumber:
After the main water shut-off valve has been turned off, you’ll need to call a licensed residential plumber to replace the lead pipe. That is not a do-it-yourself project! Only a licensed professional should handle lead pipes.
When hiring a plumbing contractor, do your research. Ask for licenses and insurance information before asking for references! Once you’ve found a reputable contractor, they will handle the rest of the lead pipe replacement process.
Step # 4: Finalize all Details with Your Contractor in Writing:
The contract should be in writing and include all necessary information such as a scope, timeline for completion, or cost.
You should also have a detailed payment schedule specifying when payments are due and what payment methods are acceptable. The details are all set, and now you can get started on that project!
Step # 5: Obtain Necessary Permits:
After finding a reputable contractor and finalizing the project’s cost, the next step is to obtain all necessary permits. The contractor will help you with this, as they are likely familiar with the required paperwork.
Step # 6: Stay Informed and Involved:
Throughout the lead service line replacement, it’s essential to stay informed and involved in the process. Ask your residential plumbing contractor questions if you’re unsure about anything, and make sure you understand what’s happening every step of the way.
Step # 7: The Final Step:
The final step is to have your water tested by a certified professional to ensure no traces of lead in your drinking water.
When looking for a new lead service line, ask all the right questions. Bill’s Plumbing & Sewer is here with answers!
We offer free project estimates so you can be confident about what your costs will be upfront. Contact today and see how easy it is to upgrade your plumbing!
6 Essential HVAC Troubleshooting Tips For summer
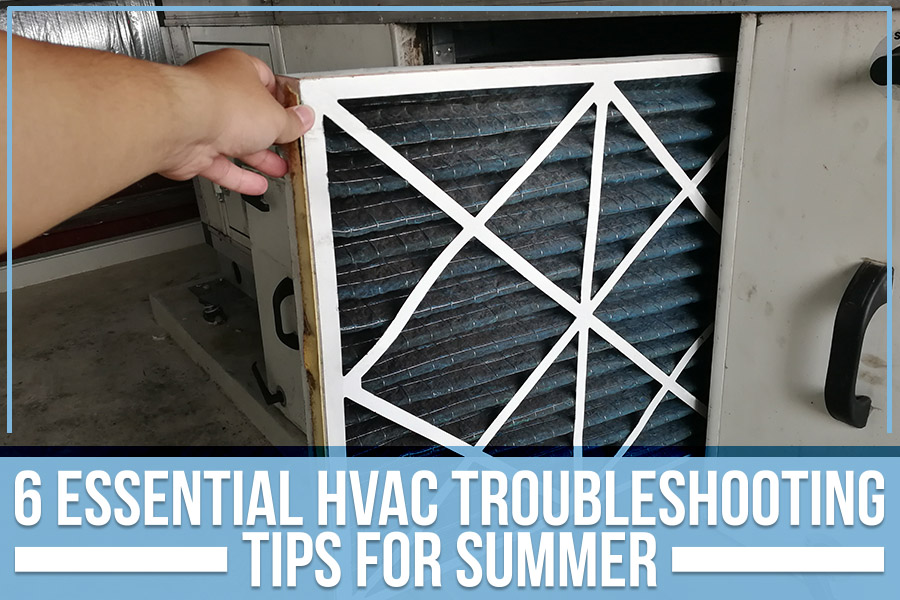
As the mercury rises, so does the likelihood of your air conditioner breaking down. But there are a few things you can do to prevent that. By troubleshooting your HVAC system now, you can avoid any significant issues — and pricey repairs — down the road.
Bill’s Plumbing & Sewer – one of the best companies in Glenview to provide HVAC repair and replacement services, will talk about six essential troubleshooting tips for your HVAC system this summer:
Check The Air Filter Monthly
The air filter traps dirt, dust & other airborne particles. If it becomes clogged, it will restrict airflow and cause the system to work harder. It also aids in the maintenance of clean air, which may help allergy sufferers and dust lovers breathe easier.
Changing or cleaning these filters regularly, especially during the summer months when it’s hotter outside, is something that you should do to keep your HVAC in working condition.
Keep The Area Clear
The area around the outdoor unit should be clear of any debris or objects that could block the airflow. It ensures that the unit can work adequately & it prevents the unit from overworking and potentially breaking down.
Check The Evaporator Coils
These coils remove heat from the air inside your home. If they become dirty, they will be less effective at doing their job, which can cause the system to work harder and use more energy. Cleaning the coils regularly will help to keep your system running smoothly and efficiently.
Check The Condenser Coils
The condenser coils release heat from the air inside your home. If they become dirty, they will be less effective at doing their job. It causes the system to work hard and use more energy. Cleaning the coils regularly helps keep your HVAC system running smoothly and efficiently.
Inspect the Ductwork
The ductwork is responsible for delivering air from the HVAC system to the different rooms in your home. Any leaks or holes in the ductwork can cause cool air loss and make your HVAC system work harder. Regularly inspecting the ductwork and repairing any leaks will help keep your system running efficiently.
Check the Thermostat
The thermostat regulates the temperature inside your home. If it is not working correctly, this can cause your HVAC system to unnecessarily use more energy. Checking the thermostat regularly and ensuring that it is calibrated correctly will help keep your energy bills low.
Bill’s Plumbing & Sewer serving Glenview, is a trusted expert in heating and cooling services. We have years of experience in HVAC repair and replacement, and our qualified professionals are dedicated to providing you with top-quality service every time.
Whether you need a new HVAC system installed, routine maintenance, or repairs, we are here to help. Other services include pump installation, lead water line replacement, and fire hydrant repair and replacement. We also offer 24/7 service for those times when you need assistance immediately.
When it comes to your home’s comfort, trust the experts at Bill’s Plumbing & Sewer. Get your project estimate today!
Accumulator Pump System Or Smart Water Sensor Pumps?
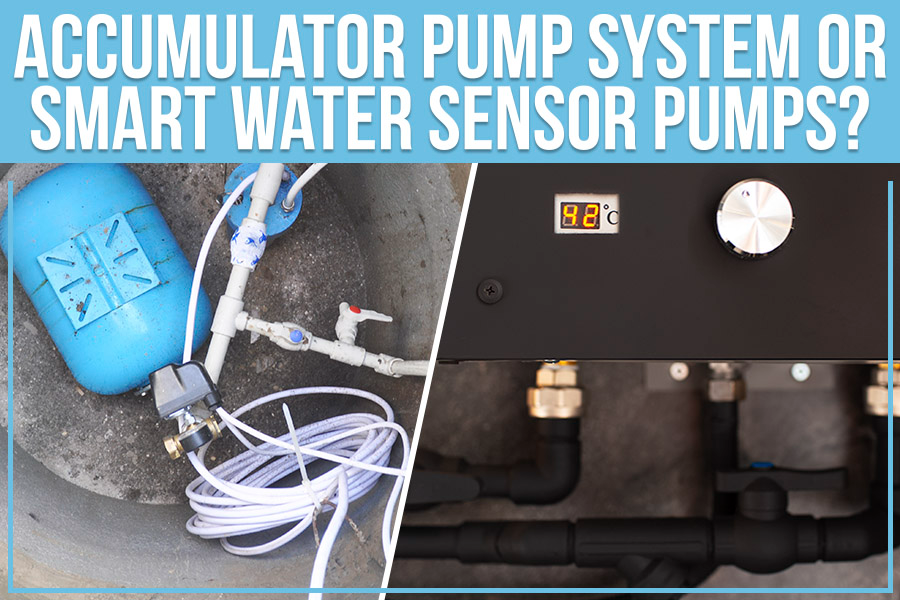
When it’s time to replace your home’s water pump, you may be uncertain if an accumulator pump system is appropriate. Or, you may be asking yourself if a smart water sensor pump is a better option. Both have their pros & cons, but which one is the best choice for your home? Let’s look at each type of pump and see what might work best for you.
What Is An Accumulator Pump?
An accumulator pump is a type of water pump often used in homes with wells. It works by storing water in a tank and then pumping it into your house. If you have many people living in your home or if you live in an area with frequent power outages, this is an excellent option.
How Does a Water Pump Accumulator Work?
An accumulator pump works by storing water in a tank, then pressurized by a pump. When the water pressure in the tank gets too high, the pump will automatically shut off. It can help to prevent your pump from overheating and burning out.
What Is a Smart Water Pump?
A smart water pump is a device that can be used in domestic, commercial, and agricultural applications. It has sensors that are switched on and off according to the requirement and monitor the water level in a tank or well. This can help to save water and energy.
How Does a Smart Water Pump Work?
When there is a need for water, the smart water pump will automatically switch on and start supplying water. It will then shut off when the required amount of water has been supplied. You can also use the smart water pump to monitor the water level in a tank or well. If the water level drops below a certain point, the smart water pump will automatically switch on and start supplying water. This can help to prevent wastage of water.
Which is Better?
Both types of pumps have advantages and disadvantages. An accumulator pump may be more reliable as it does not require power to operate. However, a smart water pump may be more efficient, as it can automatically adjust the water flow according to demand. Ultimately, choosing between an accumulator pump and a smart water pump depends on your specific needs.
If your area experiences frequent power outages, an accumulator pump may be preferable because the pump will continue to work even if no electricity is available. The pump can automatically adjust the water flow according to demand.
Ultimately, choosing between an accumulator pump and a smart water sensor pump depends on your specific needs. If you still don’t know the type of pump you should install, it is best to consult with a professional.
Looking for a plumbing and sewer company to help you with your needs? Look no further than Bill’s Plumbing and Sewer serving Northbrook. We provide top-tier residential and commercial plumbing services and pump installation. We’re here to help you get the job done right, and we’ll always go above and beyond to make sure you’re happy with the results. Get your estimate today!
Kitchen Remodeling Blunders Worth Avoiding
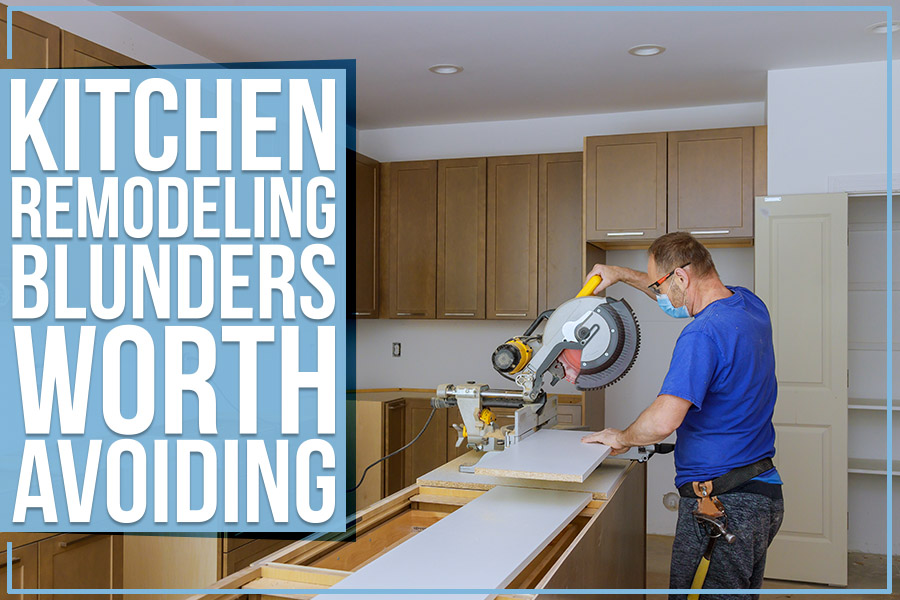
Are you considering a kitchen remodel? If so, be sure to avoid these common mistakes! Many homeowners mistake rushing into a kitchen remodel without thinking things through. It can lead to expensive and time-exhausting problems down the road. Bill’s Plumbing & Sewer will discuss some of the most common kitchen remodeling blunders worth avoiding.
Kitchen Remodeling Blunders to Avoid
So, before you begin your kitchen remodel, be aware of these common mistakes.
1. Failing to Plan
One of the most common mistakes is failing to plan. Without a solid plan, you are likely to run into problems. Be sure to take the time to sit down and map out your kitchen remodel before you get started. It will help ensure that everything goes according to plan.
2. Choosing the Wrong Contractor
Another common mistake made during kitchen remodel is choosing the wrong contractor. Not all contractors are created equal. Some are much better than others when completing a kitchen remodel. Be sure to do your research before you select a contractor. Read online and in-person reviews from past clients to get a feel for the quality of work.
3. Not Considering the Layout
Not considering the layout of the room is also a common blunder. Many people assume that their current layout will work with their new design. However, this is not always the case. It is crucial to consider the size and shape of your kitchen when planning a remodel. Otherwise, you may end up with a layout that does not work well for your needs.
4. Not Planning for Storage
Another mistake to avoid is failing to plan for storage. Many kitchens lack adequate storage space, leading to cluttered countertops and cabinets. When planning your remodel, include plenty of storage options to keep your kitchen organized and tidy.
5. Failing to Budget
Finally, one of the biggest mistakes made during kitchen remodels is failing to budget properly. Many homeowners assume that they can wing it when it comes to their budget. However, this often leads to overspending. Be sure to map out your budget before starting your kitchen remodel. It will help ensure that you don’t spend more than you can afford.
Ending Note
Kitchen remodeling can add significant value to your home, but avoiding these common mistakes is essential. So, before tearing down walls or ordering new cabinets, take a few minutes to read through this blog post so you can avoid these common kitchen remodeling blunders. Choosing an experienced contractor ensures that your kitchen remodel goes smoothly and is finished on schedule. If you’re considering a kitchen remodel, Bill’s Plumbing & Sewer serving Niles, IL, would be happy to provide you with a free estimate. Contact us today to plan your dream kitchen – without all the headaches.

Lead in water is a serious problem. Health experts agree that there is no safe level of lead exposure. Even low levels of lead in the blood can cause high blood pressure, kidney damage, cognitive problems, behavioral problems, and other health problems.
Lead pipes were once a common plumbing material. Many homes and businesses built before 1986 have lead pipes. However, lead pipes are no longer used in plumbing because of the health risks, but at least 667,275 service lines to homes and businesses in Illinois are still made of lead.
While The Illinois General Assembly passed a landmark bill last year to replace all lead plumbing in the state, it will take many years and billions of dollars to replace all the lead pipes. In the meantime, what can you do if you think you have a lead pipe?
Here are four ways to determine if you have a lead pipe:
Determine the Age of Your Home
If your home was built before 1980s, there’s a good chance that it has lead pipes. Lead was commonly used in plumbing because it was thought to be a durable and long-lasting material. However, we now know that lead is quite harmful to our health.
If you’re not sure when your home was built, you can check the public records. The date of construction should be listed there.
Inspect the Pipe Material
Lead pipes are usually gray or dull in color. They can also be easily scratched, which is another way to tell that they’re not made of a stronger metal like copper.
In addition, lead pipes are much heavier than other plumbing materials like copper. You can often tell just by picking up a section of pipe whether it’s made of lead. If you have any doubts, you can always consult with a plumbing professional to get a second opinion.
Check Your Water Pressure
Low water pressure could indicate that mineral deposits block your pipes. If you have lead pipes, these deposits can contain high lead levels.
Lead is a very soft metal, so it can quickly become corroded and clogged over time. This will cause your water pressure to drop significantly.
If you notice a sudden drop in water pressure, it’s best to call a professional plumber to take a look. They’ll be able to determine if it’s a problem with your plumbing or something else entirely.
Check the Water Quality
The presence of lead will cause the water quality to decline. If you notice that your water doesn’t taste as good as it used to or has a metallic taste or has a strange odor, this could indicate that there’s lead in the plumbing.
You can also have your water tested for lead content. This is typically done by a professional who will come to your home and collect your water sample.
The test results will confirm lead pipe presence and give you a starting point for taking action.
Living in Morton Grove, IL, you don’t need to worry about having lead pipes in your plumbing. Bill’s Plumbing & Sewer Inc. offers professional lead water line replacement services to ensure your plumbing is safe and up to code.
We are licensed, bonded, and insured plumbing contractors. Our team will replace your lead water lines with safe and durable copper pipes, so you can rest assured your plumbing is free of harmful materials.
6 Easy Steps To Remove Rust From A Fire Hydrant

Fire hydrants are an important part of any community. They provide access to water in the event of a fire, and they also play an important role in public safety. It’s important to ensure that your fire hydrant is always in good condition, and this includes making sure that the rust is removed regularly.
Bill’s Plumbing & Sewer will discuss how to remove rust from a fire hydrant using six easy steps!
Fire Hydrant Rust Removal
1. Identify the type of rust on the hydrant
There are two main types of rust: ferric oxide and hydrated iron oxide. Ferric oxide is the most common type of rust, and it is usually red or orange. Hydrated iron oxide is less common, typically black or brown.
If you’re unsure which type of rust you have, you can use a magnet to test it. Place the magnet on the rusty area, and if it sticks, you have ferric oxide. If the magnet does not stick, you have hydrated iron oxide. Identifying the type of rust will help you choose a suitable method for removing it.
2. Check Your Hydrant Regularly for Signs of Rust
If you have a fire hydrant, it’s essential to check it regularly for any signs of rust. If you find rust, it’s necessary to remove it as soon as possible.
3. Scrub Away Loose Rust
Scrub away any loose rust flakes. Be sure to safety gear like wear gloves and protective eyewear while doing this. A wire brush can remove rust. You can also use sandpaper or a steel wool pad. Just make sure that you’re gentle, so you don’t damage the hydrant.
4. Apply Rust Converter
Rust converter is a product that helps to neutralize rust and prepare the surface for painting. It works by chemically converting iron oxide into ferrous oxide, which is more stable.
5. Apply Rust Inhibitor
Once you’ve removed most of the rust, you’ll need to apply a rust inhibitor. It will help prevent the rust from coming back. There are various products on the market, so read the instructions carefully before applying them to your hydrant.
6. Paint the Hydrant
After the Rust Inhibitor has been applied, you’ll need to paint the hydrant. It will protect it from further rusting. Be sure to use high-quality paint that is designed for outdoor use.
Once you’ve removed the rust and applied a Rust Inhibitor, your fire hydrant should be good as new!
Ending Note
Rust can form on a fire hydrant for various reasons, but it’s essential to remove it as soon as possible. Not only does rust inhibit the function of the fire hydrant, but it can also be dangerous if left untreated. Bill’s Plumbing & Sewer serving Evanston, IL, has provided nine easy steps to remove rust from a fire hydrant. We would happily give you a free estimate for our services.
Thanks for reading!
The Ejector’s Dead In The Water?
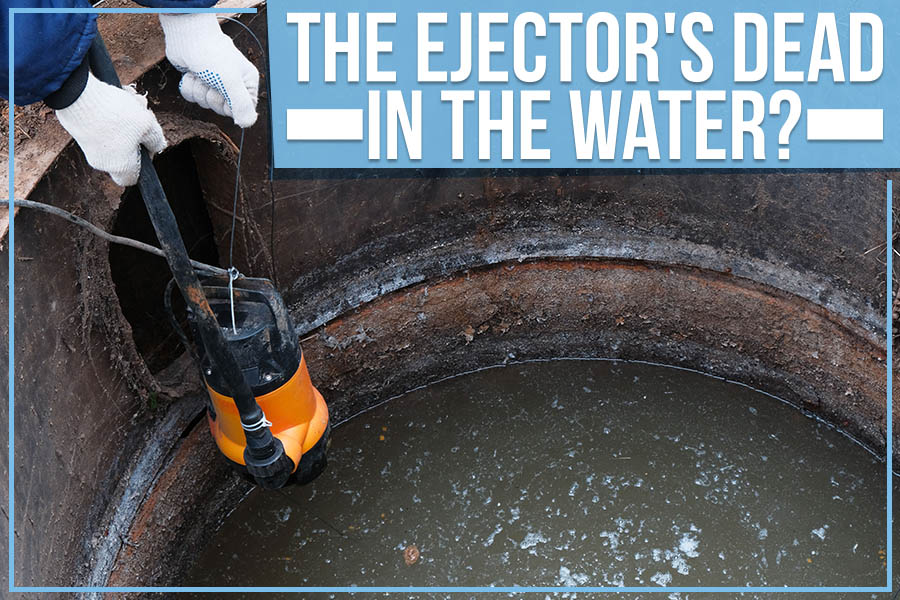
If your sewage ejector system isn’t working, it can be a real pain. Not only will you have to deal with the smell, but you could also face fines from the city if your sewage starts backing up into people’s homes or businesses. In this blog post, we will discuss some common problems that can occur with sewage pump systems and how to troubleshoot and maintain them. Hopefully, this information will help you quickly get your system up and running again!
What Causees Ejector Pump Problems
One of the most common problems that can occur with a sewage ejector system is a clogged pump. If your pump becomes clogged, it will not be able to properly remove all of the sewage from your home or business. This backup keeps sewage in your property, which is unsanitary.
There may be issues with the float switch, a key component of the system. The float switch is responsible for turning the pump on and off depending on the water level. If this switch is malfunctioning, the pump might not activate when necessary. Leaks in the system can also cause problems, as water could escape before being properly pumped out, preventing the system from operating correctly. Regular maintenance and inspections can help catch these issues early before they lead to bigger problems.
Another common problem that can occur with sewage ejector systems is electrical problems. If your system isn’t getting enough power, it won’t be able to operate correctly.
Sewage Ejector Pump Troubleshooting
Check For Power
Make sure that the sewage ejector pump is plugged in and receiving power.
Check For Blockages
If the sewage ejector pump is not working, there could be a blockage somewhere in the system. Try to clear any debris that may be causing an obstruction. Also, make sure that the discharge pipe is not blocked or restricted in any way.
Check The Float Switch
The float switch is what turns the sewage ejector pump on and off. If it is not working properly, the pump will not be able to turn on.
Check For Leaks
If there are any leaks in the sewage ejector pump system, they need to be fixed before the pump works properly.
Maintenance Tips For Sewage Pump
- Inspect your sewage ejector pump regularly to make sure that it is in good working condition.
- Clean out any debris or buildup that may have accumulated in the system. This can help prevent problems from occurring in the future.
If you notice any problems with your sewage ejector pump, don’t hesitate to call a professional for help. With proper plumbing and sewer services, your pump should last for many years.
FAQs
What Should I Do If My Ejector Pump Isn’t Working?
If your ejector pump isn’t working, the first step is to check the power supply. Make sure it is plugged in and receiving power. If the power is fine, inspect the system for visible blockages or leaks. If the pump is still not working, it may be a malfunction with the float switch or an internal issue. In these cases, it’s best to call a professional plumber to diagnose and repair the problem.
How Often Should I Maintain My Sewage Ejector Pump?
Regular maintenance is crucial to keeping your sewage ejector pump functioning properly. We recommend checking the pump every 6 months to ensure that it’s clear of debris and in good working condition. It’s also a good idea to schedule professional inspections and maintenance at least once a year. This will help prevent clogs, leaks, and electrical issues that could cause your pump to fail.
Can I Fix My Ejector Pump Myself?
While some minor issues with the sewage ejector pump, such as cleaning or unclogging the pump, can be handled on your own, it’s generally a good idea to call in a professional if you’re dealing with more complicated issues. Malfunctions with the float switch, electrical issues, or pump failures require expert knowledge and tools to fix. Hiring a professional ensures that the problem is diagnosed correctly and resolved quickly, preventing further damage to your system.
In conclusion, a malfunctioning sewage ejector pump can lead to significant problems, from unpleasant odors to costly backups. By understanding the common issues that affect these systems and performing regular maintenance, you can keep your pump running smoothly for years to come. If you encounter a more severe issue, don’t hesitate to contact a professional plumber to ensure your system is restored to full working order.
Looking for a plumbing and sewer service to help you with everything from fixing clogged drains to repairing leaky faucets? Look no further than Bill’s Plumbing & Sewer serving Skokie. Our experienced team of professionals offers residential and commercial plumbing services so that we can take care of all your needs. Plus, we’re always here to help with repair and maintenance. So whether you need a quick fix or some long-term assistance, we’re here to help. Give us a call today and ask for an estimate now!
Connect with us


- July 2026
- June 2026
- May 2026
- April 2026
- March 2026
- February 2026
- January 2026
- November 2025
- July 2025
- June 2025
- April 2025
- March 2025
- January 2025
- February 2024
- December 2022
- November 2022
- October 2022
- September 2022
- July 2022
- June 2022
- May 2022
- April 2022
- March 2022
- February 2022
- January 2022
- December 2021
- November 2021
- October 2021
- September 2021
- August 2021
- July 2021
- June 2021
- May 2021
- April 2021
- March 2021
- February 2021
- January 2021
- December 2020
Archives
Fix Clogged Drains & Leaky Faucets With Our Residential & Commercial Plumbing Services In Northbrook, IL
Get A Free Estimate